Ice Mold Bottle Chillers

This little Ice Mold Kit is one of the best things I added to my ‘Must-Have Entertaining Items’ list. It’s such an easy way to elevate your theme party to the next level and it will certainly impress your guests!
There’s a variety of ‘kits’ on the market and no matter the brand, they’re all relatively the same. I ordered both of mine from Amazon and the only difference is the height of the stainless steel ice bucket holder.
Interested in owning your own? Click here to purchase my favorite Ice Mold Kit!
I have seen some really talented stylists out there that make their own molds, using plastic containers etc… Their chillers look amazing and I’m always super impressed (and probably a little envious?) But my philosophy is if this is working for me, there’s no need to change my recipe…at this time!


Some of my favorite items to use in a chiller:
Flowers
Greens & Stems & Berries
Citrus Fruit
Apples & Cinnamon sticks
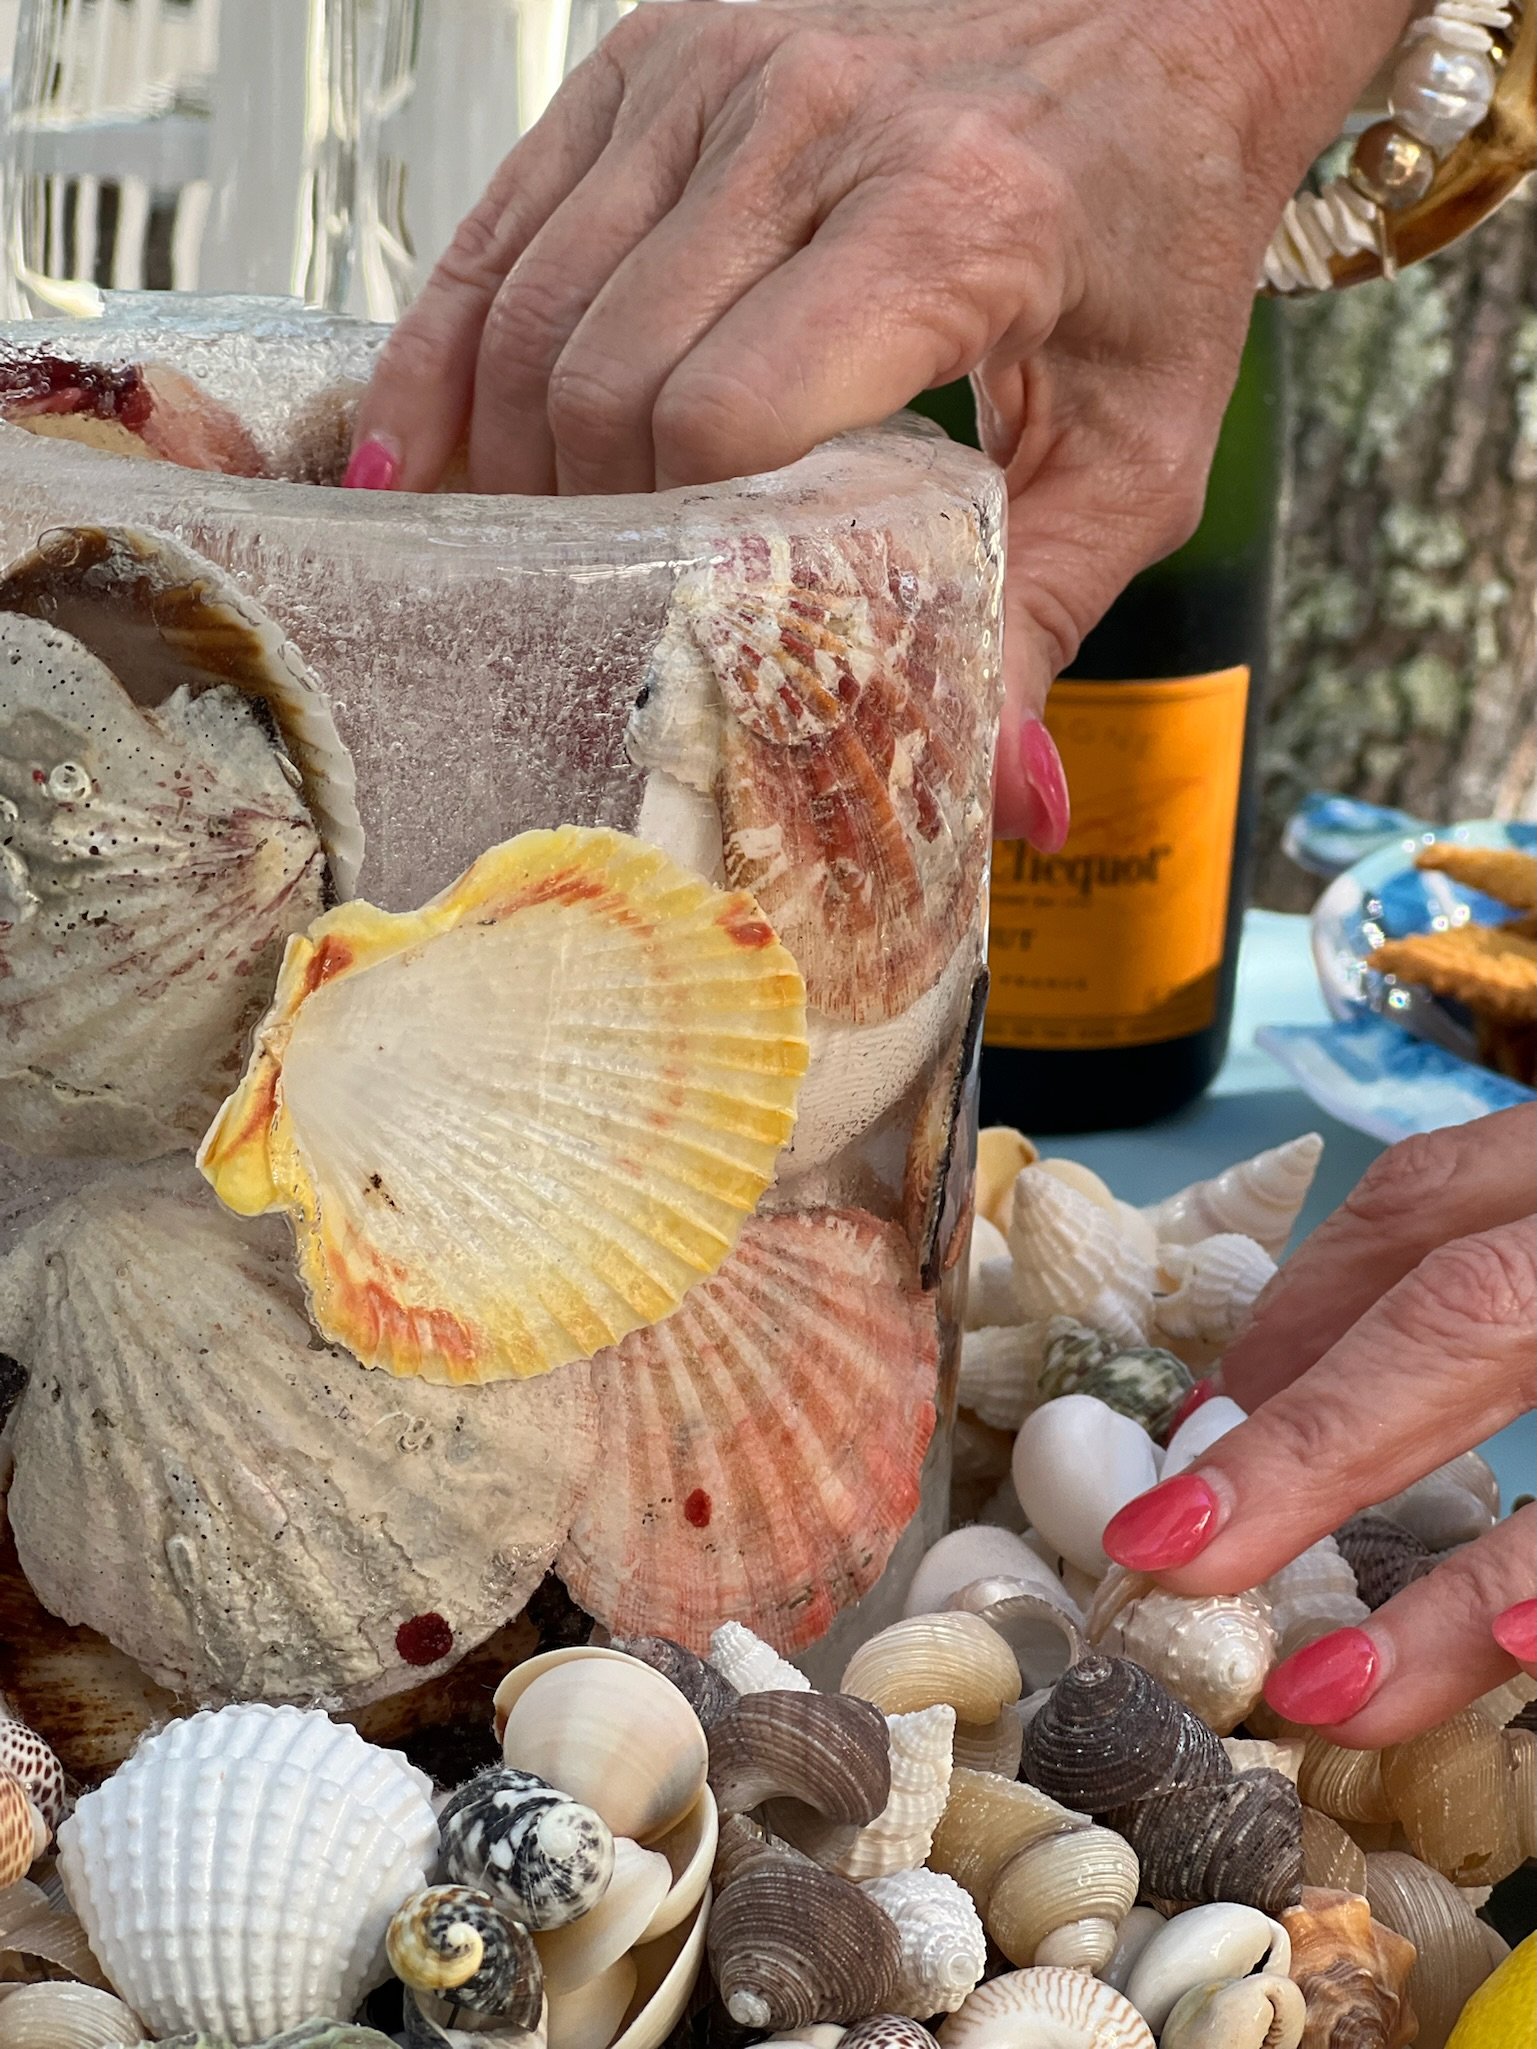
Sea Shells
Bones & Plastic eyeballs (Halloween)
*Remember, anything you put in the chiller is in water until it starts to freeze, so if that item will bleed or dissolve in water, don’t use it.
Supplies:
The mold (kit)
Items to place in the mold. They can’t be too thick, the space is approx. 1” wide.
Water. I usually use tap water. I’ve also used distilled and filtered and personally haven’t noticed a difference in the molds. You can also use cooled boiled water.
Space in your freezer for the mold to stand upright!!! This is very important. Clear a space before you are ready to put it in to chill!
Step-by-Step:
Grab your Ice Mold Kit—click here to purchase the kit I use today!
Gather the materials that you’ll be putting in your mold.
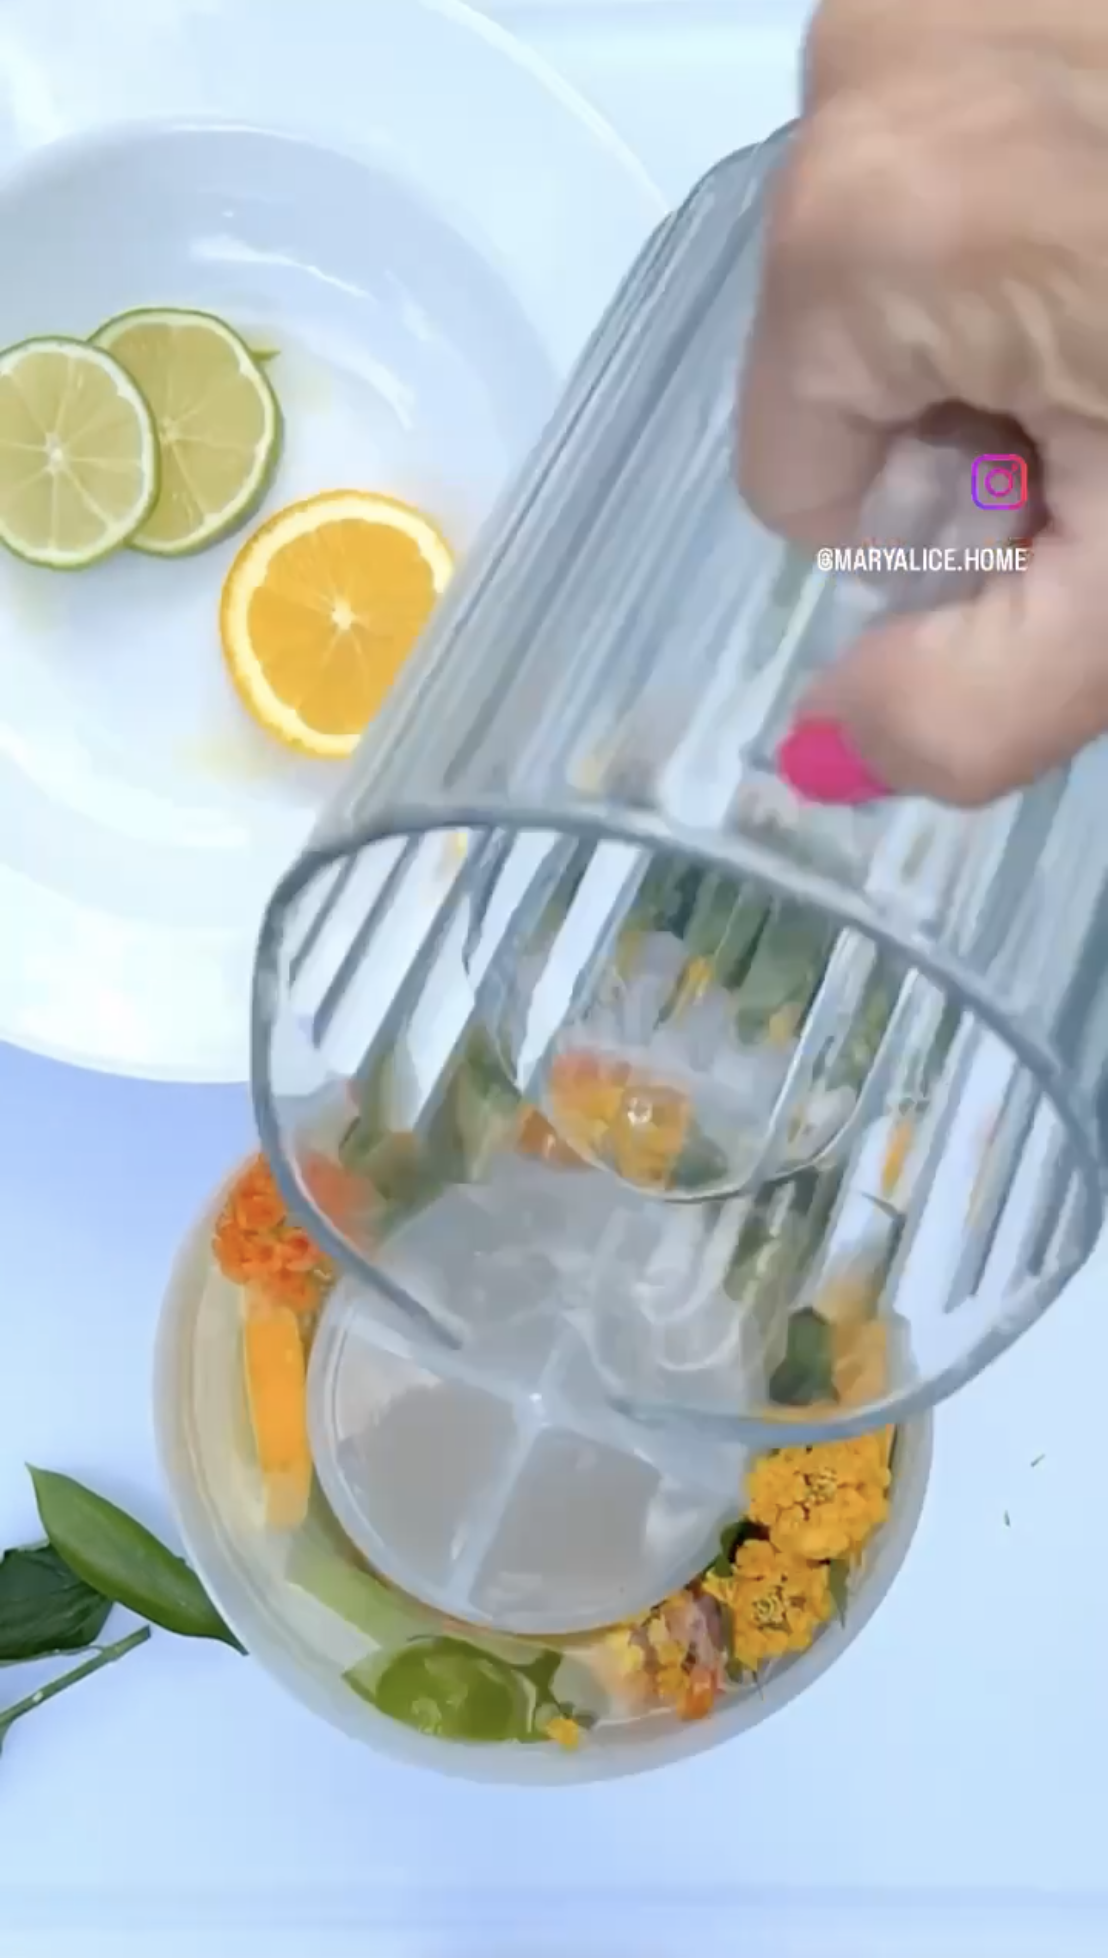
Start placing your materials. If you have items that are heavier, place them in first adding the lighter pieces towards the top.
Slowly add the water to fill. Leave a small space for expansion and add the lid.
Put the plastic mold in the freezer, making sure it is level. Mold should be frozen in 12-24 hrs, depending on your freezer.
When you're ready, take the ice mold out of the freezer and run under warm water for 2-3 minutes (give or take) to help release the ice from the mold. Don’t rush! The ice mold will eventually release.
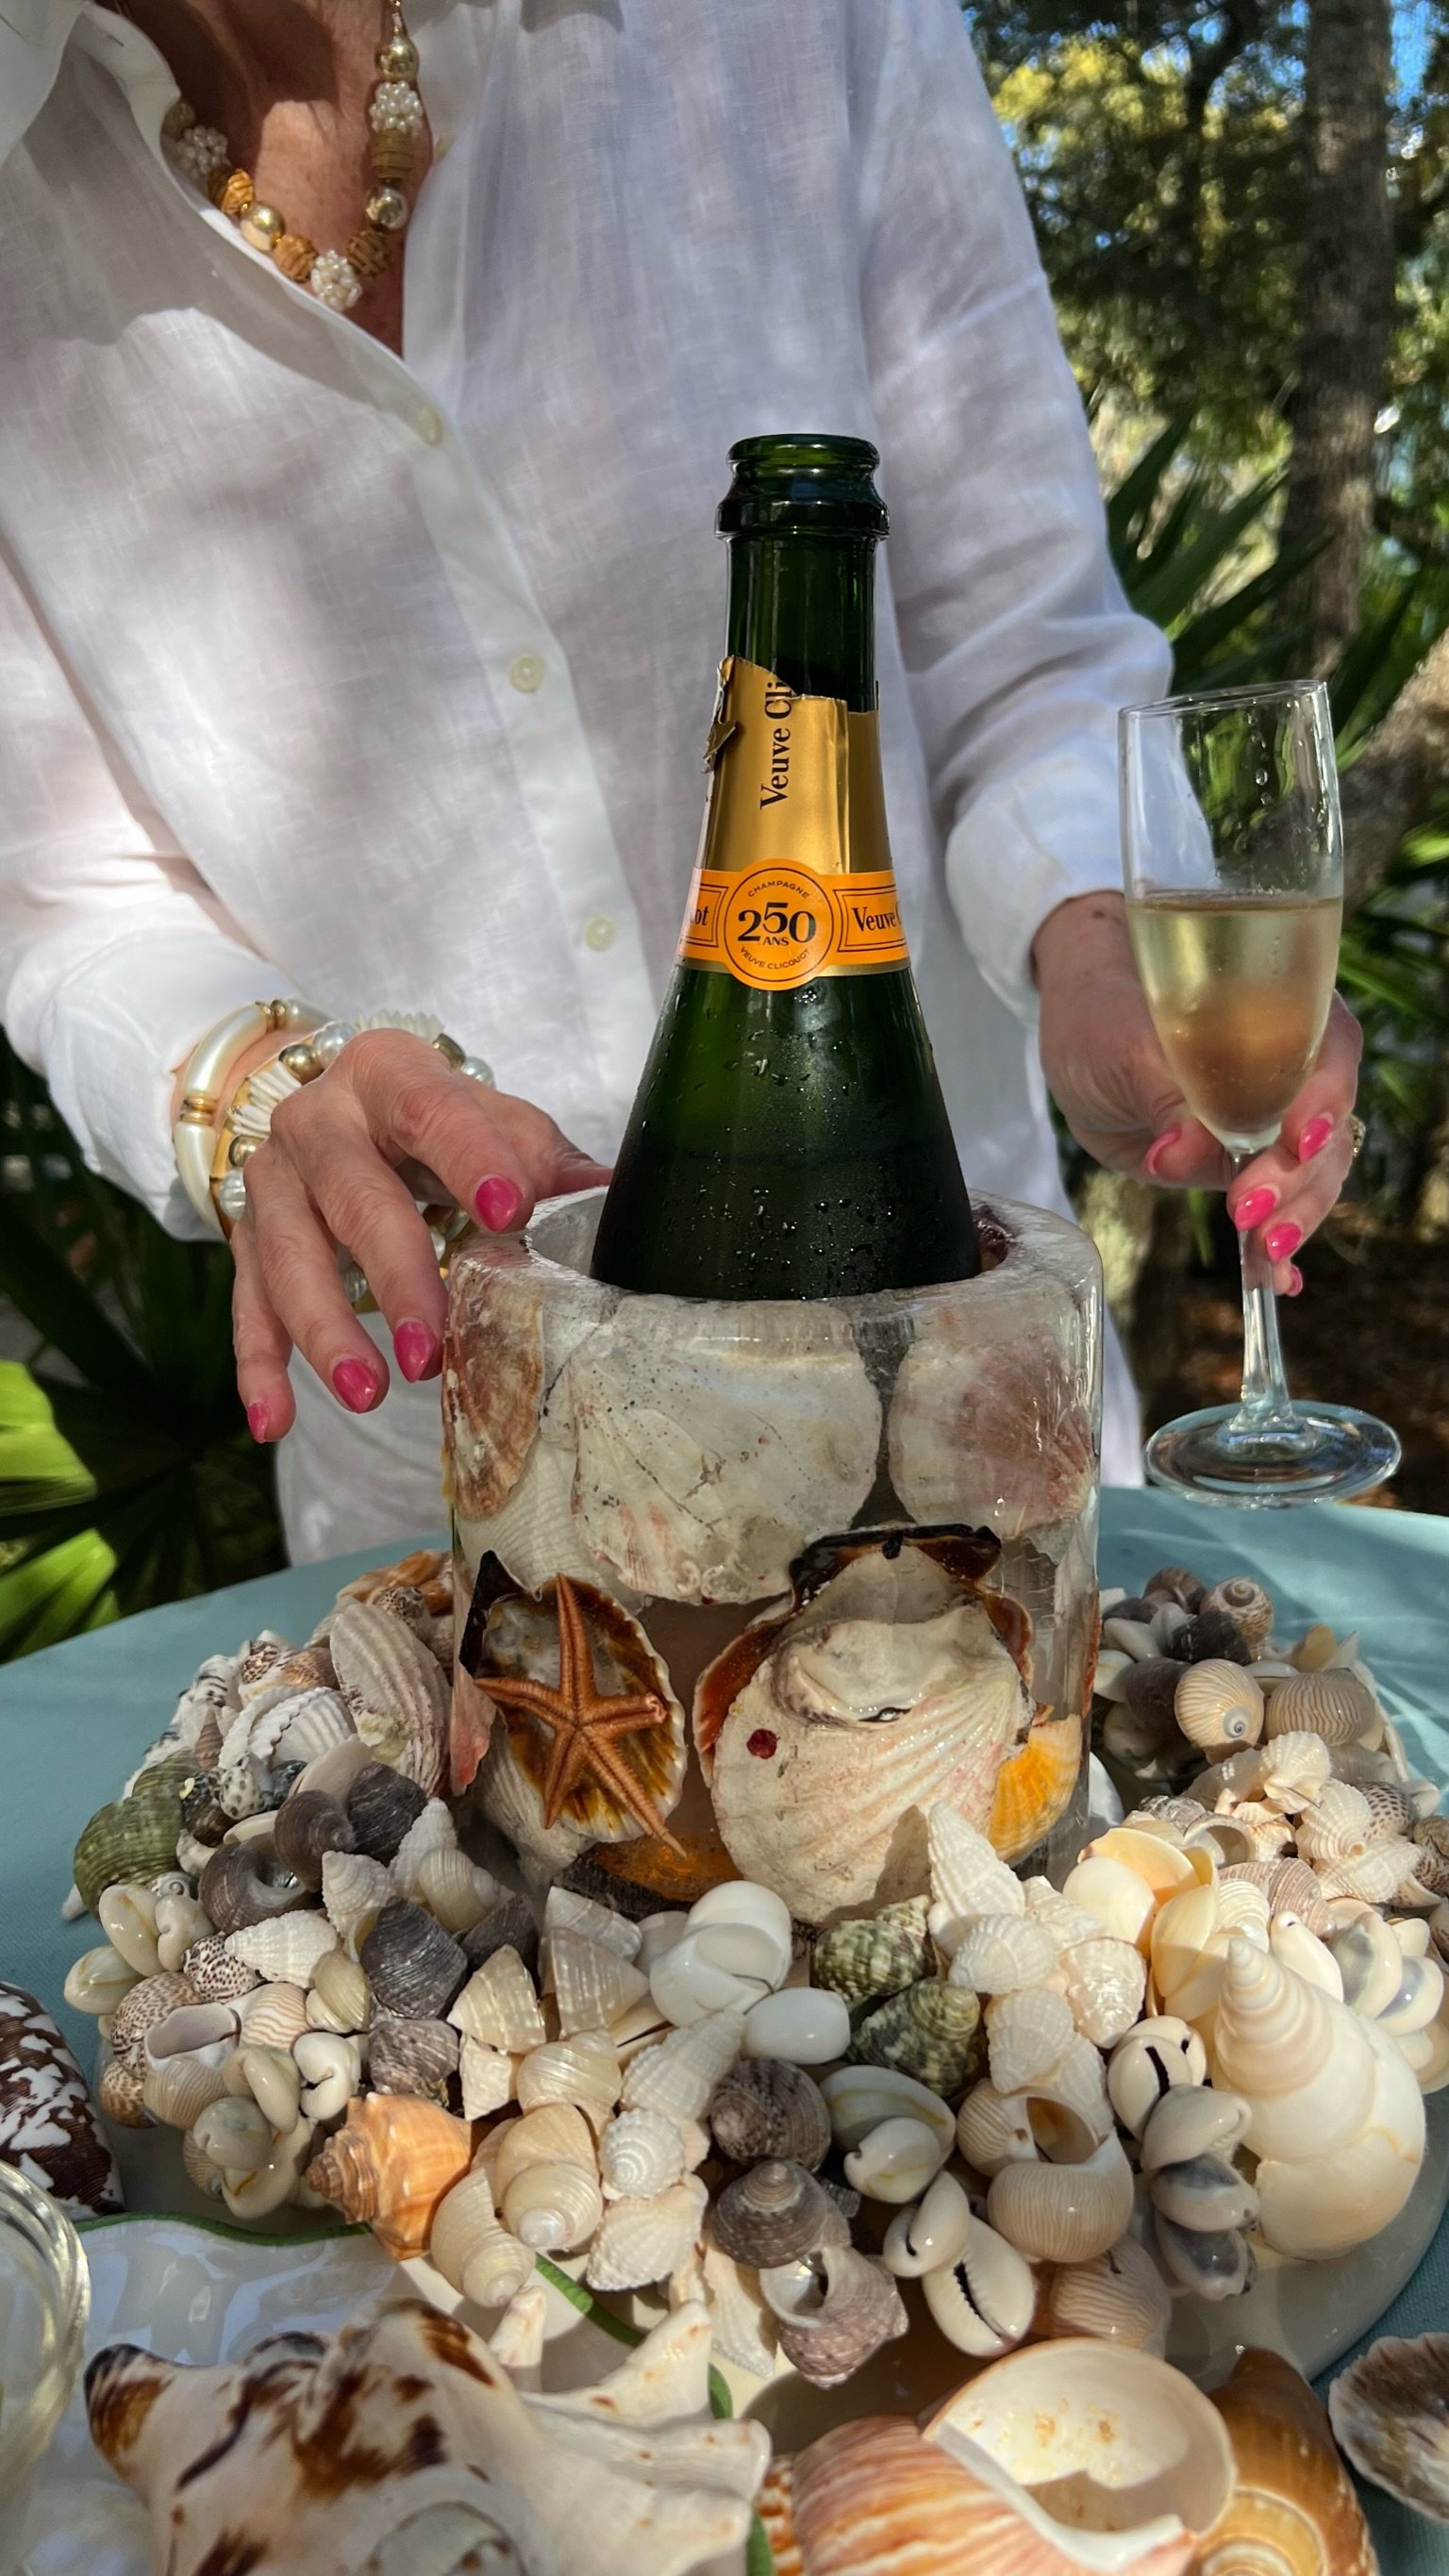
Place the gray ice shelf inside the stainless steel bowl, then put your mold on the ice shelf. Add your favorite bottle and let the fun begin!